




How to troubleshoot an aluminum cased sightseeing vehicle charger if it doesn't work?
 Sep 29, 2026|
 Hey there! As a supplier of Aluminum Cased Sightseeing Vehicle Chargers, I've seen my fair share of issues when these chargers stop working. It can be a real headache, especially if you're relying on that sightseeing vehicle to keep running. But don't worry, I'm here to walk you through some troubleshooting steps to get your charger up and running again.
Check the Basics
First things first, let's start with the basics. You'd be surprised how many problems can be fixed just by checking the simple stuff.
Power Connection
The very first thing you should do is make sure the charger is properly plugged in. Sounds obvious, right? But sometimes, a loose plug can cause all sorts of problems. Check both the charger's plug and the power outlet. Make sure there's no damage to the cord or the outlet. If the outlet isn't working, try plugging something else into it to see if it's a problem with the outlet itself.
Fuse Check
Most chargers have a fuse that can blow if there's a power surge or other electrical issue. Check the fuse in your charger. You can usually find it on the back or side of the charger. If the fuse is blown, replace it with a new one of the same rating. You can usually find replacement fuses at your local hardware store.

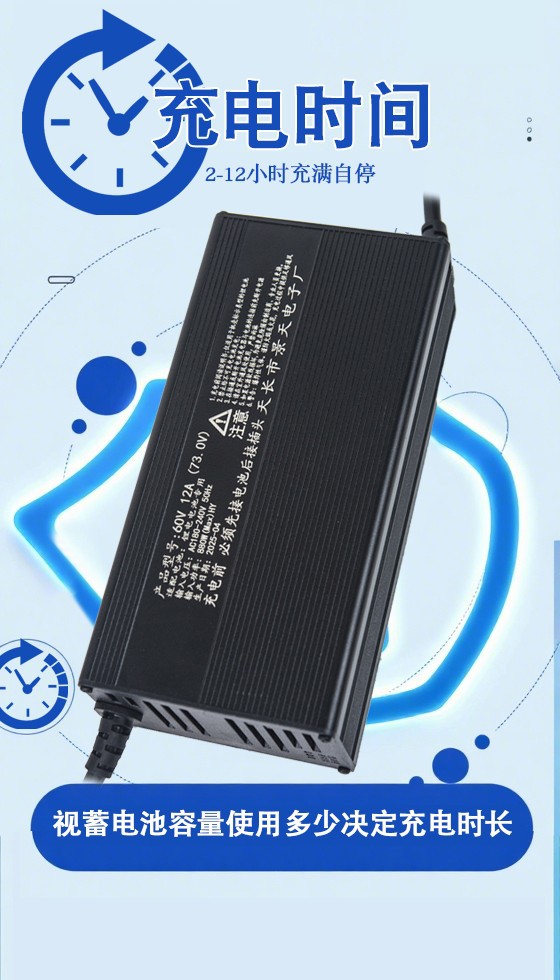
Battery Connection
Next, check the connection between the charger and the battery. Make sure the cables are securely attached to both the charger and the battery. Look for any signs of corrosion or damage on the battery terminals. If there's corrosion, you can clean it off with a wire brush and some baking soda mixed with water.
Look for Error Indicators
Many chargers have built-in error indicators that can give you a clue about what's going wrong. These indicators are usually in the form of lights or a display.
LED Lights
If your charger has LED lights, check what they're telling you. Different colors or blinking patterns can indicate different problems. For example, a red light might mean there's an overcurrent or overvoltage issue, while a green light could mean the charger is working properly. Refer to your charger's manual to find out what each light means.
Display Messages
Some chargers have a digital display that shows error messages. If you see a message on the display, write it down and look it up in the manual. The manual should have a list of error codes and what they mean, along with suggestions on how to fix them.
Test the Charger Output
If the basic checks and error indicators don't reveal the problem, it's time to test the charger's output. You'll need a multimeter for this.
Set Up the Multimeter
Set your multimeter to measure DC voltage. Make sure the range is set high enough to measure the voltage of your charger. For most sightseeing vehicle chargers, this will be around 12V or 24V.
Measure the Output
Connect the multimeter's probes to the charger's output terminals. The red probe should go to the positive terminal, and the black probe should go to the negative terminal. Turn on the charger and check the multimeter reading. If the reading is significantly different from the charger's rated output voltage, there might be a problem with the charger.
Check for Overheating
Overheating can be a common problem with chargers, especially if they're used for long periods of time or in hot environments.
Feel the Charger
If the charger feels hot to the touch, it could be overheating. This can be caused by a number of things, such as a blocked ventilation port or a problem with the internal components. Turn off the charger and let it cool down. Check the ventilation ports to make sure they're not blocked. If the charger continues to overheat after it cools down, there might be a more serious problem.
Consider the Environment
The environment in which the charger is used can also affect its performance.
Temperature and Humidity
Extreme temperatures and high humidity can cause problems with chargers. If the charger is being used in a very hot or cold environment, it might not work properly. Try moving the charger to a more moderate environment and see if that helps.
Dust and Dirt
Dust and dirt can also accumulate inside the charger and cause problems. If the charger has been exposed to a lot of dust or dirt, you can try cleaning it with a can of compressed air. Make sure to turn off the charger and unplug it before cleaning.
Seek Professional Help
If you've tried all of the above steps and the charger still isn't working, it might be time to seek professional help. You can contact the manufacturer's customer support or take the charger to a qualified repair technician.
Related Products
If you're in the market for a new charger or looking for other charging solutions, we also offer some great products. Check out our Waterproof Portable Solar Cell Charge for a convenient and eco-friendly charging option. And if you're into electric bikes, our 48v Ebike Fast Charger is a great choice. Of course, our Aluminum Cased Sightseeing Vehicle Charger is designed specifically for sightseeing vehicles and offers reliable performance.
Contact Us for Purchase
If you have any questions or are interested in purchasing our chargers, feel free to reach out. We're here to help you find the right charging solution for your needs.
References
- Charger user manuals
- Electrical engineering textbooks on power supplies and chargers